CUSTOM HEADWEAR / BUYER GUIDE
Curved vs Flat Brim: A Custom Cap Buyer’s Brief
Compare cap brim shape, crown outline and front-support requirements. Use named references and matching sample views before approving the cap's construction.
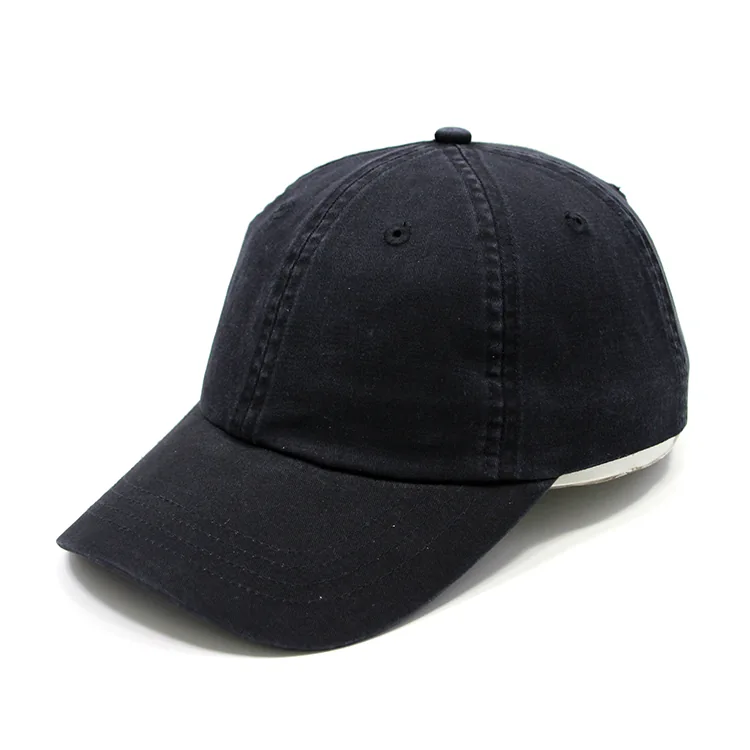
Choosing curved vs flat brim caps is only the first line of a useful custom cap brief. Specify the brim shape, its dimensions, the crown silhouette and the rear closure as separate decisions. That gives the sample team a clearer starting point than a style name alone.
A brand may want a curved brim with a clean front for embroidery. A wholesaler may be comparing several flatter silhouettes for a collection. In either case, the useful question is which visible features to keep and which details still need a sample. The photos below show different reference caps, photographed from different angles. They illustrate specification questions; they are not a controlled comparison of the same cap with two brims.
Separate brim shape from the closure
“Curved brim” and “flat brim” describe the front of the cap. “Snapback” describes an adjustment system at the rear. One term does not specify the other.
When reviewing flat-brim and other headwear directions, write the requested rear fastening on its own line. If you like a photographed cap because of its brim, say so; otherwise the supplier may reasonably ask whether you also want its crown, back opening and closure.
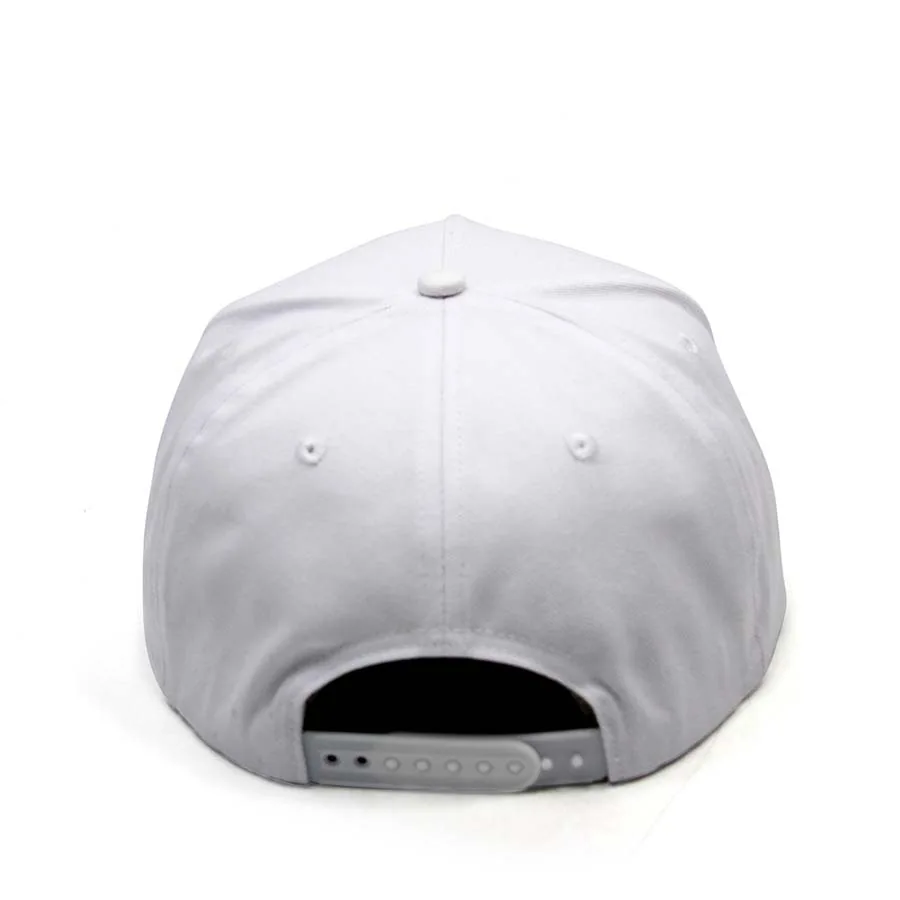
Record the closure type, intended adjustment and any rear logo or label together. Leave the size range open until it has been agreed and checked. A rear photo can show the fastening arrangement, but it cannot establish a measured fit range.
Describe the curve and the angle separately
A brim can curve across its width while also pointing downward relative to the crown. These are different features. A front photograph is useful for discussing the curve from one side to the other; a side view helps explain the brim’s direction and its relationship to the crown.
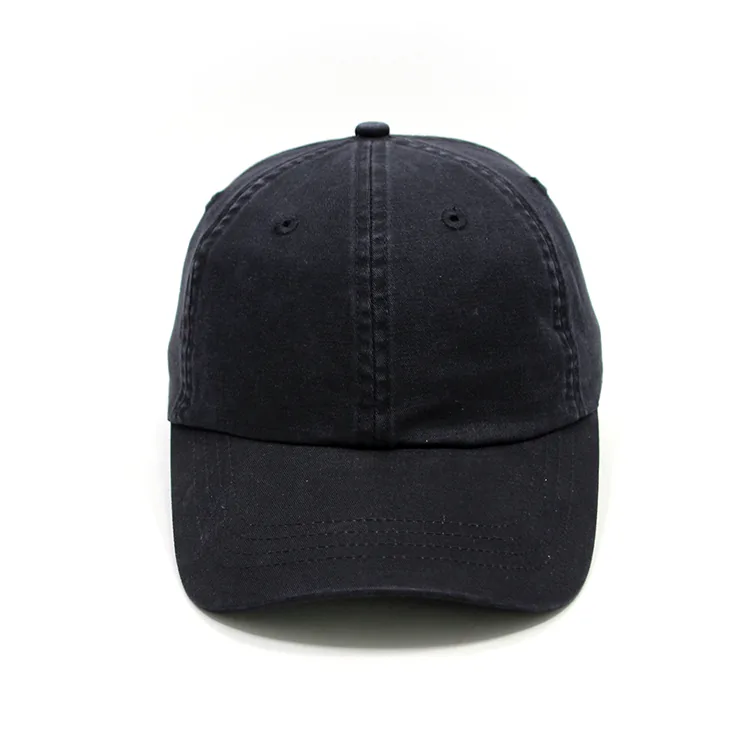
Instead of writing “make it more curved,” mark the part you mean on the reference photo. Is the change across the width, at the front edge, or in the downward angle? Ask for front and side photos of the revised sample under consistent conditions. A camera positioned higher or lower can make the same brim appear different.
For baseball and dad cap shape options, include a reference for the whole cap as well as the brim detail. A brim change should be assessed with the crown it will be attached to.
A bucket hat uses a continuous brim around the crown, so it needs a different set of marked reference points. Use the bucket hat brim sample brief to describe the front, sides, back, edge and stitch lines without applying this cap-visor measurement method to it.
Agree how width and projection will be measured
“Wide” and “long” need measuring points before they become production instructions. Do not estimate either dimension from these photographs: there is no scale reference.
For a useful measurement request, distinguish:
- Width: where across the brim the measurement is taken. Identify the two endpoints on a marked drawing or sample photo.
- Front projection: the distance from an agreed point at the crown-to-brim join to an agreed point on the front edge, usually discussed along the center line.
- Measurement method: whether a dimension follows the surface or is taken as a straight distance between points. The method matters when the brim is curved.
- Review condition: whether the cap is unsupported, on a head form or worn, and how it is positioned for comparison.
Ask the sample team to confirm the drawing and measuring method before assigning dimensions. If you already have a physical reference, identify it by sample code or revision and record the measurements taken from that actual piece. Agree tolerances for the project rather than borrowing an unexplained number from another product.
Review the brim with the crown silhouette
A flat brim is not a flat-top crown. The dark reference below has a relatively straight brim profile, while the crown’s upper outline rises toward a top button. Specify the crown top, front and side profile independently of the brim.
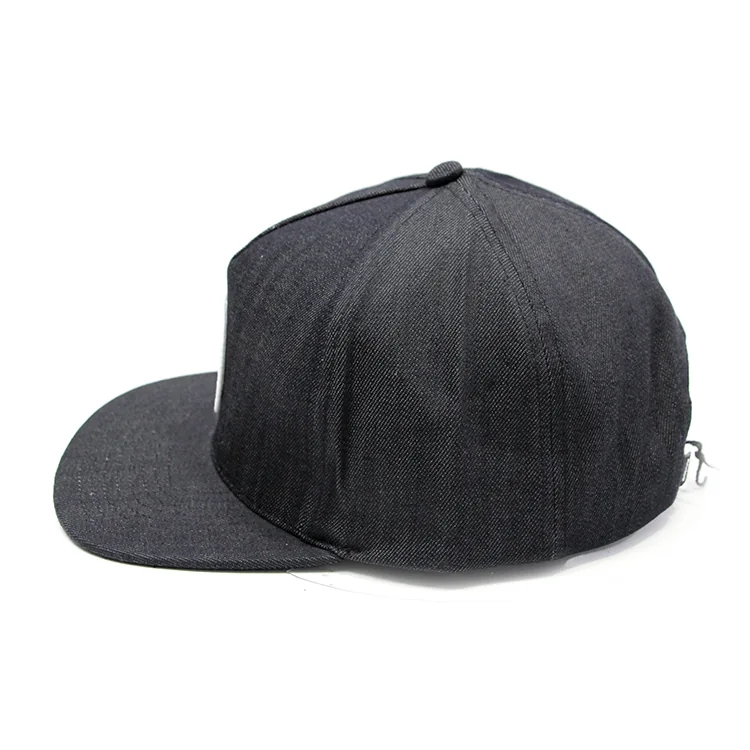
The plaid reference has a broader visible top area bounded by a perimeter seam and a more upright-looking side. That is a different crown direction to discuss, regardless of the requested brim. It is a three-quarter view, so it cannot confirm that the whole top is level or establish the crown height.
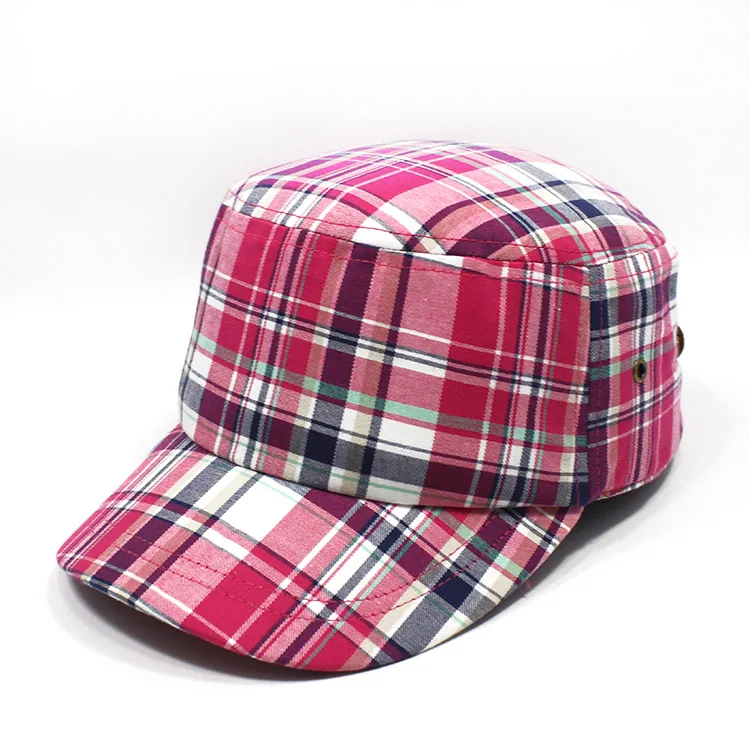
If the plaid photograph is also an artwork reference, keep those instructions in the pattern-placement brief. A request for its crown outline does not automatically request its pattern, seam alignment or material.
Crown top outline checklist
Use “flat-top” and “rounded” as starting descriptions of the outline you like, then show the supplier exactly which part you mean. “Make it flatter” could refer to the brim, the top or the way the cap is arranged for the photograph.
- Mark the crown outline on the reference. Trace the upper edge in the side view and circle where it turns toward the front and rear. Mark any top-to-side boundary separately. Put the brim request on another line; do not use a seam as proof of the entire silhouette.
- Request matching views of one sample revision. Ask for front, left side, right side and top views, identified with the same sample code. State whether the cap is unsupported, on a head form or worn. For comparisons, keep that support, cap position and camera angle consistent. A top view helps locate the top area and joins; it does not replace the side outline.
- Give each marked feature its own decision. Use the short record below with your annotated photographs. Leave a requirement open when the view or physical measurement is missing.
| Marked feature | Record before sampling |
|---|---|
| Crown top outline | The part to retain or change, with the reference view and marked boundary. |
| Front and side profile | Where the front rises and the sides turn toward the top; name which outline controls the request. |
| Crown height | Agreed upper and lower measuring points, straight or surface-following method, cap support and units; then the project’s actual target and tolerance. |
| Brim profile | A separate reference for the widthwise curve and angle relative to the crown. |
Ask the sample team to confirm the measuring points on a drawing or the physical reference before filling in a height requirement. A ruler placed beside an oblique photograph is not enough unless the position and method are clear. Keep panel count on its own specification line too: a flatter-looking top does not prove a five-panel layout, and a rounded outline does not prove six panels.
Review the combined profile on the physical cap under the agreed conditions. Record how it sits on the intended wearer or head form rather than pressing the crown into the outline you want for a photo. Use the side-view sample check to carry those marked points into the review. Matching the preferred top outline alone does not approve fit, internal support or material.
A focused request could read:
Reference A controls only the crown top outline marked in its side view; reference B controls the brim curve. Please confirm whether this combination can be sampled, then provide front, matching side and top views of the same proposed cap and state how it is supported. Confirm the height measuring points and panel layout separately. The fit check remains open until we review the physical cap on the agreed wearer or head form.
Replace A and B with your own named references. The two photographs here illustrate different crown directions; they are not matching side views for an actual sample approval.
Keep logo placement in that discussion too. A front design needs an agreed size and location on the proposed crown, not just on a flat artwork file. The website’s 3D Design Studio helps communicate an early color and logo concept; it does not establish final brim dimensions or replace sample approval.
Brim shape also does not tell you where a front seam will cross the logo area. Use the five-panel versus six-panel seam checklist to mark the panel layout as a separate item in your sample brief.
Separate front-crown appearance from internal support
Specify the front outline you want and ask the supplier to identify its proposed construction. An upright-looking front in a photograph gives you an appearance reference. Ask for the construction details that would support your requested outline on the proposed cap.
Begin with the named front and side references in your brief. Mark the outline to retain, the area you want changed and the conditions in which the cap is shown. Give the brim, crown height and panel layout their own specification lines. Five or six crown pieces alone cannot identify whether or how the front is supported.
If a reply uses “structured” or “unstructured,” ask what that means for the proposed cap. Request a description of the relevant front areas, any additional support, where it ends and how it is attached. Ask the supplier to identify its stated material or component reference where applicable. Keep unanswered details marked open until the supplier clarifies them.
Record the information needed for each decision.
- Desired appearance. Identify the marked front/side outline and the exact features to retain or change.
- Proposed construction. Save the supplier’s description, referenced components or drawing, and any question awaiting confirmation.
- Sample review. Identify the physical cap, matching views and the details checked against the current requirement.
Ask for front, side and corresponding inside views of the same sample revision. Name the front center and wearer’s left and right on the review images. State whether the cap is unsupported, worn or on the agreed head form, and use that condition consistently when comparing profiles. If a display support holds the front upright, request the agreed unsupported view as well before judging that outline.
Use the inside-finish checklist to locate the front area, seams, inner band and decoration reverse. Where a lining, band or seam covering obscures a detail, request an appropriate closer view or supplier explanation. Keep hidden material details open until supported by the supplier’s component information. Reserve feel and handling questions for the agreed physical-sample review.
Fill in this record alongside the marked references.
Cap/sample [ID and revision] · Appearance reference [view and marked outline] · Review condition [cap support and position] · Proposed front construction [supplier description/reference, or open] · Supporting evidence [drawing/view IDs] · Physical checks [details and result] · Buyer decision [accepted details / changes / open questions, owner and date].
After a construction revision, request matching outside and inside evidence again. Recheck the affected profile, decoration and contact areas on the identified physical sample. Record the construction decision, appearance decision and fit result, with any unresolved support detail still marked open.
Turn the reference into a clear sample request
Use one reference for each decision, and say what that reference controls. If the brim comes from one cap and the crown from another, label them accordingly so the combination can be reviewed for feasibility.
| Decision | Put in the brief | Confirm during sampling |
|---|---|---|
| Brim shape | Curved or flat direction, with marked front and side references | Curve across the width and angle relative to the crown |
| Width and projection | Agreed endpoints, dimension units and measurement method | Measurements on the identified sample revision |
| Crown silhouette | Marked top outline, front and side features, plus agreed height measuring points | Profile under matching conditions; dimensions and fit on the physical sample |
| Closure | Requested fastening and rear opening, separately from the brim | Adjustment, fit range and rear decoration clearance |
| Logo position | Artwork version, intended dimensions and position references | Finished placement on the proposed cap |
A short request might read:
We would like to discuss a curved-brim cap. Reference A shows the brim direction we prefer; reference B shows the crown silhouette. Please review whether the combination is feasible and confirm the measurement points before sampling. The rear closure is still undecided. Our artwork and intended order quantity are attached.
This is an example of brief wording, not a promise that a particular combination is available. Replace the references and open questions with your own decisions. Once a sample is ready, use the five-view cap sample review guide to check the front, side, back and inside together.
Send your cap references and design brief to Rongtai. Include the features you want to keep, the decisions still open, your intended quantity and destination. Alex can review the next questions with you before the sample requirements and commercial terms are agreed.